portable sauna and cold plunge setup
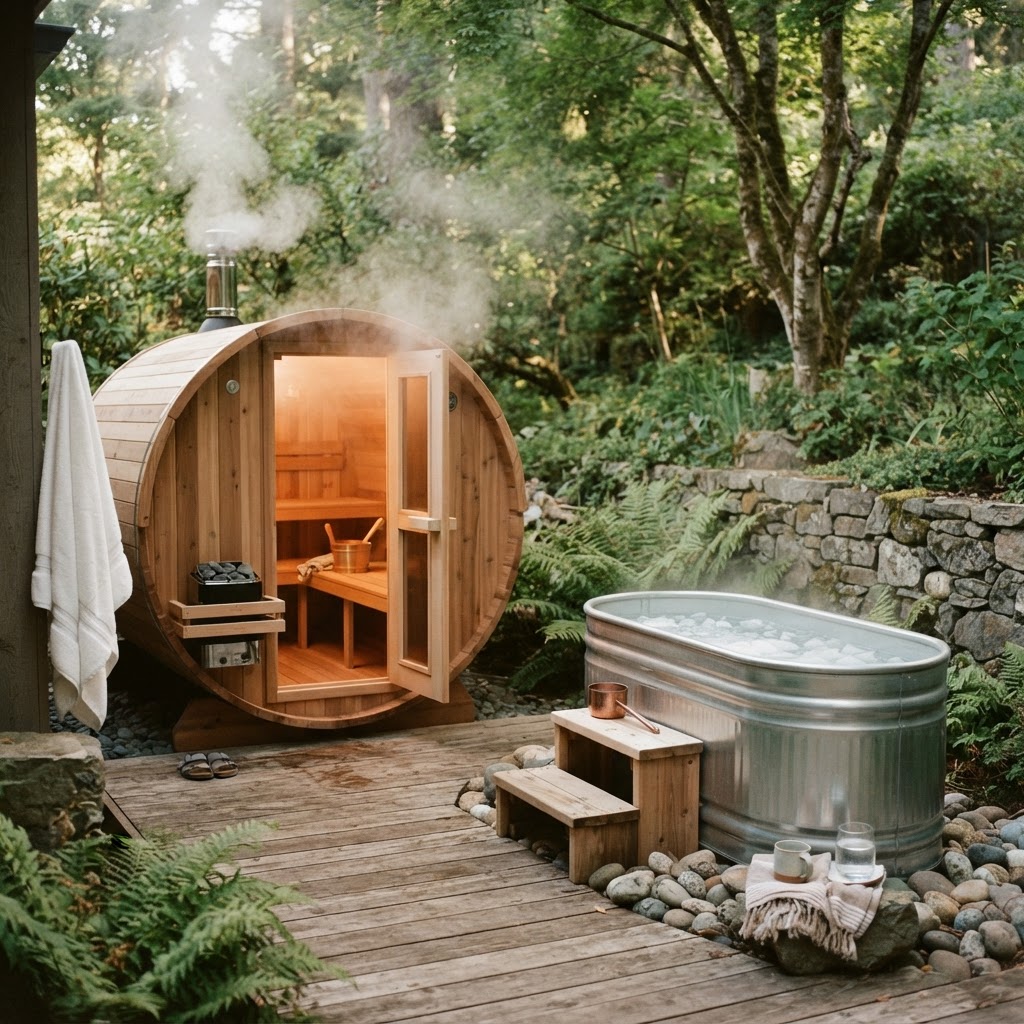
Portable Sauna and Cold Plunge Setup: Simple Home Recovery Layouts
A buyer-friendly guide to pairing a portable sauna with a cold plunge setup without overspending or crowding your space.
Published 10/1/2026
As an affiliate site, we may earn from qualifying purchases and partner referrals. This helps support our site at no extra cost to you.
As an Amazon Associate, we earn from qualifying purchases.
Quick answer
A simple portable sauna and cold plunge setup works best when the layout is easy to enter, easy to clean, and easy to dry. Start with the sauna or plunge first, then add the second piece only if your space and routine can handle it.
As an affiliate site, we may earn from qualifying purchases and partner referrals. This helps support our site at no extra cost to you. As an Amazon Associate, we earn from qualifying purchases.
Start with space planning
Before buying anything, map the area. You need room for the sauna tent or blanket, cold plunge tub, towels, airflow, drainage, and safe movement between zones.
Garage setup
A garage may provide more room and easier storage, but temperature swings and floor drainage matter. Keep electrical sauna components away from water and follow product instructions carefully.
Patio setup
Covered patios can work for some products, but check whether the sauna and accessories are designed for outdoor use. Many portable steam saunas are intended for protected indoor spaces.
Apartment setup
Apartment buyers should usually keep things compact. A portable steam sauna plus a full cold plunge may be too much for many units. Consider a sauna-only setup or a smaller recovery routine first.
Do not overbuy at the start
The biggest mistake is buying every recovery product at once. Start with one core item, learn your routine, then add accessories if they solve a real problem.